Easy Chocolate Milk for One: Your 2-Minute Guide to a Perfect Sip
Imagine this: that irresistible craving for a rich, creamy glass of chocolate milk hits. Maybe you've just finished a workout and need a satisfying recovery drink, or perhaps you simply want a comforting treat without committing to a whole gallon. Whatever the reason, the thought of making just one perfect serving of chocolate milk for one might seem like too much fuss. But what if we told you it's not only possible but incredibly easy? With just four simple ingredients and two minutes of your time, you can whip up an amazing, delicious cup that perfectly hits the spot.
Forget the store-bought varieties loaded with extra sugar and preservatives, or the hassle of making a big batch you won't finish. This guide is dedicated to crafting that ideal single serving, giving you ultimate control over flavor, quality, and ingredients. Get ready to elevate your chocolate milk experience from mundane to magnificent, one perfect cup at a time.
Why Homemade Chocolate Milk for One is a Must-Try
Beyond the sheer joy of a delicious beverage, making your own chocolate milk for one offers a surprising array of benefits that packaged options simply can't match. It's more than just a sweet treat; it's a versatile solution for cravings, recovery, and conscious consumption.
- Unmatched Flavor & Quality Control: The biggest draw of homemade is the superior taste. You choose your milk, your cocoa, and your sweetness level, resulting in a flavor profile that's perfectly tailored to your palate. No artificial flavors, no mystery ingredients—just pure, unadulterated chocolate goodness.
- The Secret Weapon for Post-Workout Recovery: Did you know chocolate milk has earned a reputation as an effective post-exercise recovery drink? For athletes, runners, or anyone engaging in strenuous activity, chocolate milk provides an ideal balance of carbohydrates and protein. The carbs help replenish glycogen stores in your muscles, while the protein aids in muscle repair and growth. This powerful combination helps prevent the dreaded "crash" after intense efforts, making it an excellent choice for revitalizing your body. If you're looking for more insights into this incredible benefit, check out The Runner's Fuel: Single-Serving Chocolate Milk for Recovery.
- Customization for Dietary Needs: One of the beautiful aspects of making your own is the flexibility. Whether you're dairy-free, watching your sugar intake, or prefer a specific type of milk, you can easily adapt this recipe. Use oat milk, almond milk, or coconut milk for a plant-based version. Experiment with natural sweeteners like maple syrup or a sugar substitute.
- Convenience Without Commitment: No need to buy a whole gallon when you only want a single glass. This recipe is designed to be quick and easy, ensuring you can satisfy that craving instantly without waste or extra trips to the store. For more tips on avoiding the gallon commitment, explore No Gallon Needed: Make Your Own Perfect Chocolate Milk for One.
- Cost-Effective & Eco-Friendly: Making your own chocolate milk for one from pantry staples is almost always cheaper than buying single-serve cartons. Plus, it reduces packaging waste, making it a more environmentally conscious choice.
The Power of Four: Essential Ingredients for Your Perfect Sip
The magic of this recipe lies in its simplicity and the quality of its core components. Just four everyday ingredients come together to create something truly special. Let's break down each one and how to make the best choices.
- Milk (8 ounces): This is your creamy base, and the choice here can significantly impact the final taste and texture.
- For Richness: As a general rule, the higher the fat content, the creamier and more decadent your chocolate milk will be. Whole milk is a fantastic option for a truly indulgent experience.
- For Balance: 2% milk offers a good balance of creaminess and lightness.
- For Dietary Needs: Don't hesitate to experiment with plant-based alternatives. Creamy oat milk provides a luscious texture, while almond milk offers a lighter option. Soy milk is also a great choice, adding a good dose of protein.
- Unsweetened Cocoa Powder (1-2 tablespoons): This is where the chocolate flavor comes from, so don't skimp on quality!
- Natural Cocoa Powder: Often fruitier and sharper in flavor, great for a classic chocolate taste.
- Dutch-Processed Cocoa Powder: Darker, milder, and less acidic, lending itself to a smoother, almost "Oreo" like flavor.
- Quality Matters: A good quality cocoa powder makes a world of difference. Avoid the cheapest brands if you're aiming for a gourmet experience. We recommend unsweetened cocoa powder over melted chocolate squares, as melted chocolate can sometimes result in a too-thick consistency for chocolate milk.
- Granulated Sugar (1-2 tablespoons, or to taste): Your sweetener. The amount will depend on your preference and the sweetness of any added syrups or toppings.
- Adjust to Taste: Start with 1 tablespoon and add more if needed.
- Alternatives: Maple syrup, honey, or even a sugar-free sweetener like stevia or erythritol can be used. Adjust the quantity based on the sweetener's potency.
- Water (1-2 teaspoons, or a splash of milk): This tiny amount is crucial for creating a smooth, lump-free chocolate syrup base. It helps dissolve the cocoa powder and sugar evenly before mixing with the bulk of your milk.
Crafting Your Perfect Cup: The 2-Minute Microwave Method
The beauty of this recipe lies in its incredible speed and simplicity, leveraging the power of your microwave to create a delicious syrup base. Follow these easy steps to your perfect glass of chocolate milk for one:
Step-by-Step Instructions:
- Combine Dry Ingredients and Liquid Base: Grab your favorite microwave-safe mug. Add the cocoa powder and sugar to the mug. Pour in 1-2 teaspoons of water (or a tiny splash of your milk if you prefer).
- Create the Chocolate Syrup: Place the mug in the microwave. Heat on high for about 15-30 seconds. The goal is just to warm the mixture enough for the sugar to dissolve and the cocoa to bloom, creating a thick, glossy syrup. Be careful not to let it boil over.
- Whisk Until Smooth: Immediately remove the mug from the microwave. Using a small whisk or a fork, stir the mixture vigorously until it forms a smooth, dark chocolate syrup with no lumps. This is the crucial step for preventing grainy chocolate milk!
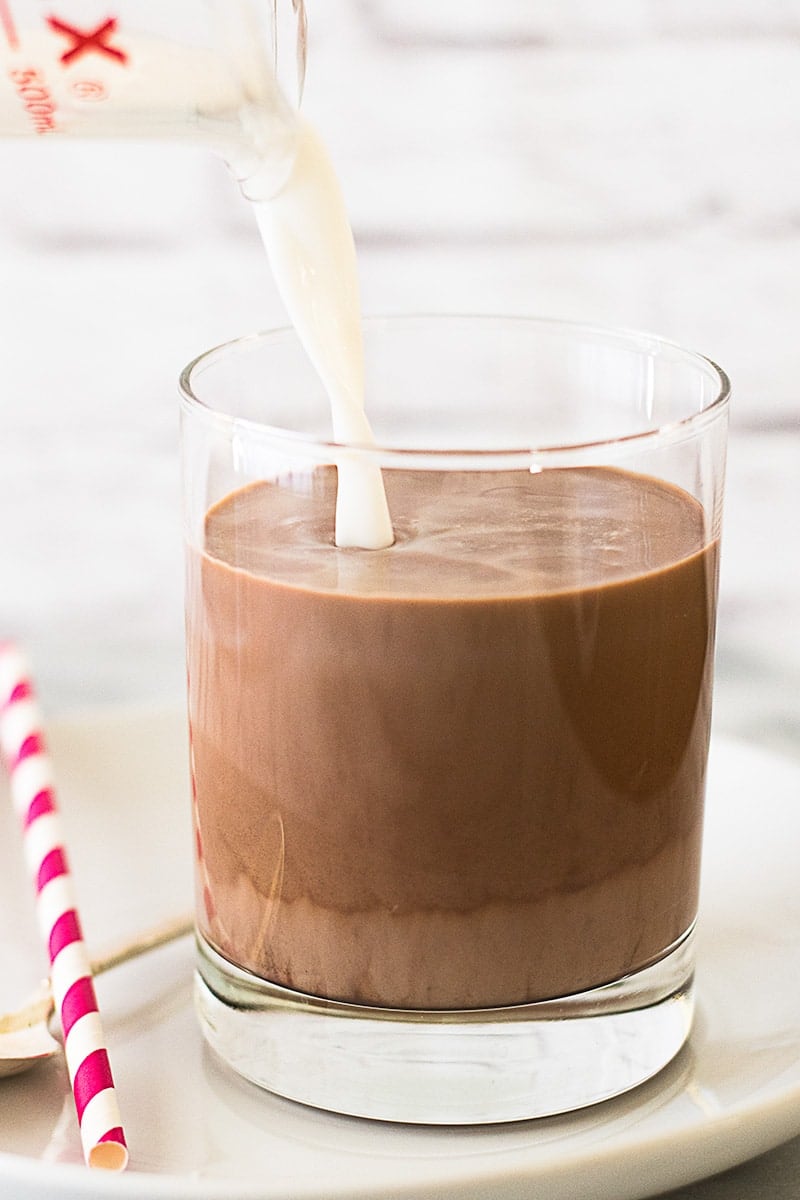
- Add the Remaining Milk: Pour the remaining 8 ounces of cold milk into the mug with your chocolate syrup. Stir well until the syrup is fully incorporated and the milk takes on a uniform chocolate color. The cold milk will quickly cool down the warm syrup, making it ready to drink almost instantly.
- Serve & Enjoy: Your perfect glass of chocolate milk for one is ready! You can enjoy it immediately, or if you prefer it extra chilled, pop it in the fridge for a few minutes.
Pro-Tip for No Lumps:
The secret to perfectly smooth chocolate milk is ensuring the cocoa powder and sugar are fully dissolved into the syrup base. Don't rush the whisking step after microwaving. A tiny bit of effort here pays off immensely in the final texture.
Elevate Your Sip: Customization & Beyond
While the basic recipe is fantastic on its own, a few simple additions can take your chocolate milk for one from great to gourmet. Think of these as opportunities to truly make it your own.
- A Dash of Vanilla: For a sophisticated flavor, add 1/4 teaspoon of pure vanilla extract to your chocolate syrup base. This simple addition can transform your drink from ordinary to extraordinary, giving it a depth of flavor reminiscent of high-end desserts.
- The Pinch of Salt: Don't underestimate the power of a tiny pinch of salt (just a literal speck!). It doesn't make your chocolate milk salty; instead, it remarkably enhances the chocolate flavor, making it taste richer and more complex.
- Spice It Up: For an adventurous twist, add a tiny pinch of cinnamon, a dash of nutmeg, or even a whisper of chili powder to the cocoa and sugar mixture before microwaving. This can create a warm, complex, or even Mexican hot chocolate-inspired flavor.
- Coffee Kick: A tiny bit of instant espresso powder (1/4 teaspoon) stirred into the syrup base won't make it taste like coffee, but it will deepen and intensify the chocolate flavor, much like salt does.
- Indulgent Toppings: Why stop at just the drink? Top your glass with a dollop of fresh whipped cream, a sprinkle of chocolate shavings, a drizzle of chocolate syrup, or even a few mini marshmallows (lightly torched for extra indulgence, if you're feeling fancy!).
- Make-Ahead Syrup: If you find yourself craving chocolate milk frequently, consider making a slightly larger batch of the chocolate syrup base. Simply multiply the cocoa, sugar, and water, prepare the syrup, and store it in an airtight container in the fridge for up to a week. Then, just add a tablespoon or two to cold milk whenever a craving strikes!
Conclusion
Who knew that such a simple combination of four ingredients could yield such an amazing result in just two minutes? Making chocolate milk for one is more than just a quick recipe; it's an invitation to treat yourself, recover smartly, and enjoy a customizable, delicious beverage without any fuss or waste. From its proven benefits as a post-workout recovery drink to its sheer delight as an everyday indulgence, this homemade solution truly stands out.
So, the next time that craving strikes, skip the store-bought options. Grab your mug, your four ingredients, and create your perfect cup. You deserve that rich, creamy, homemade goodness, crafted exactly how you like it, in mere moments.
